
Please note that some of the links on this site are affiliate links and we earn from qualifying purchases. This does not cost you anything extra, but it helps us keep the lights on. Thank you for your support!
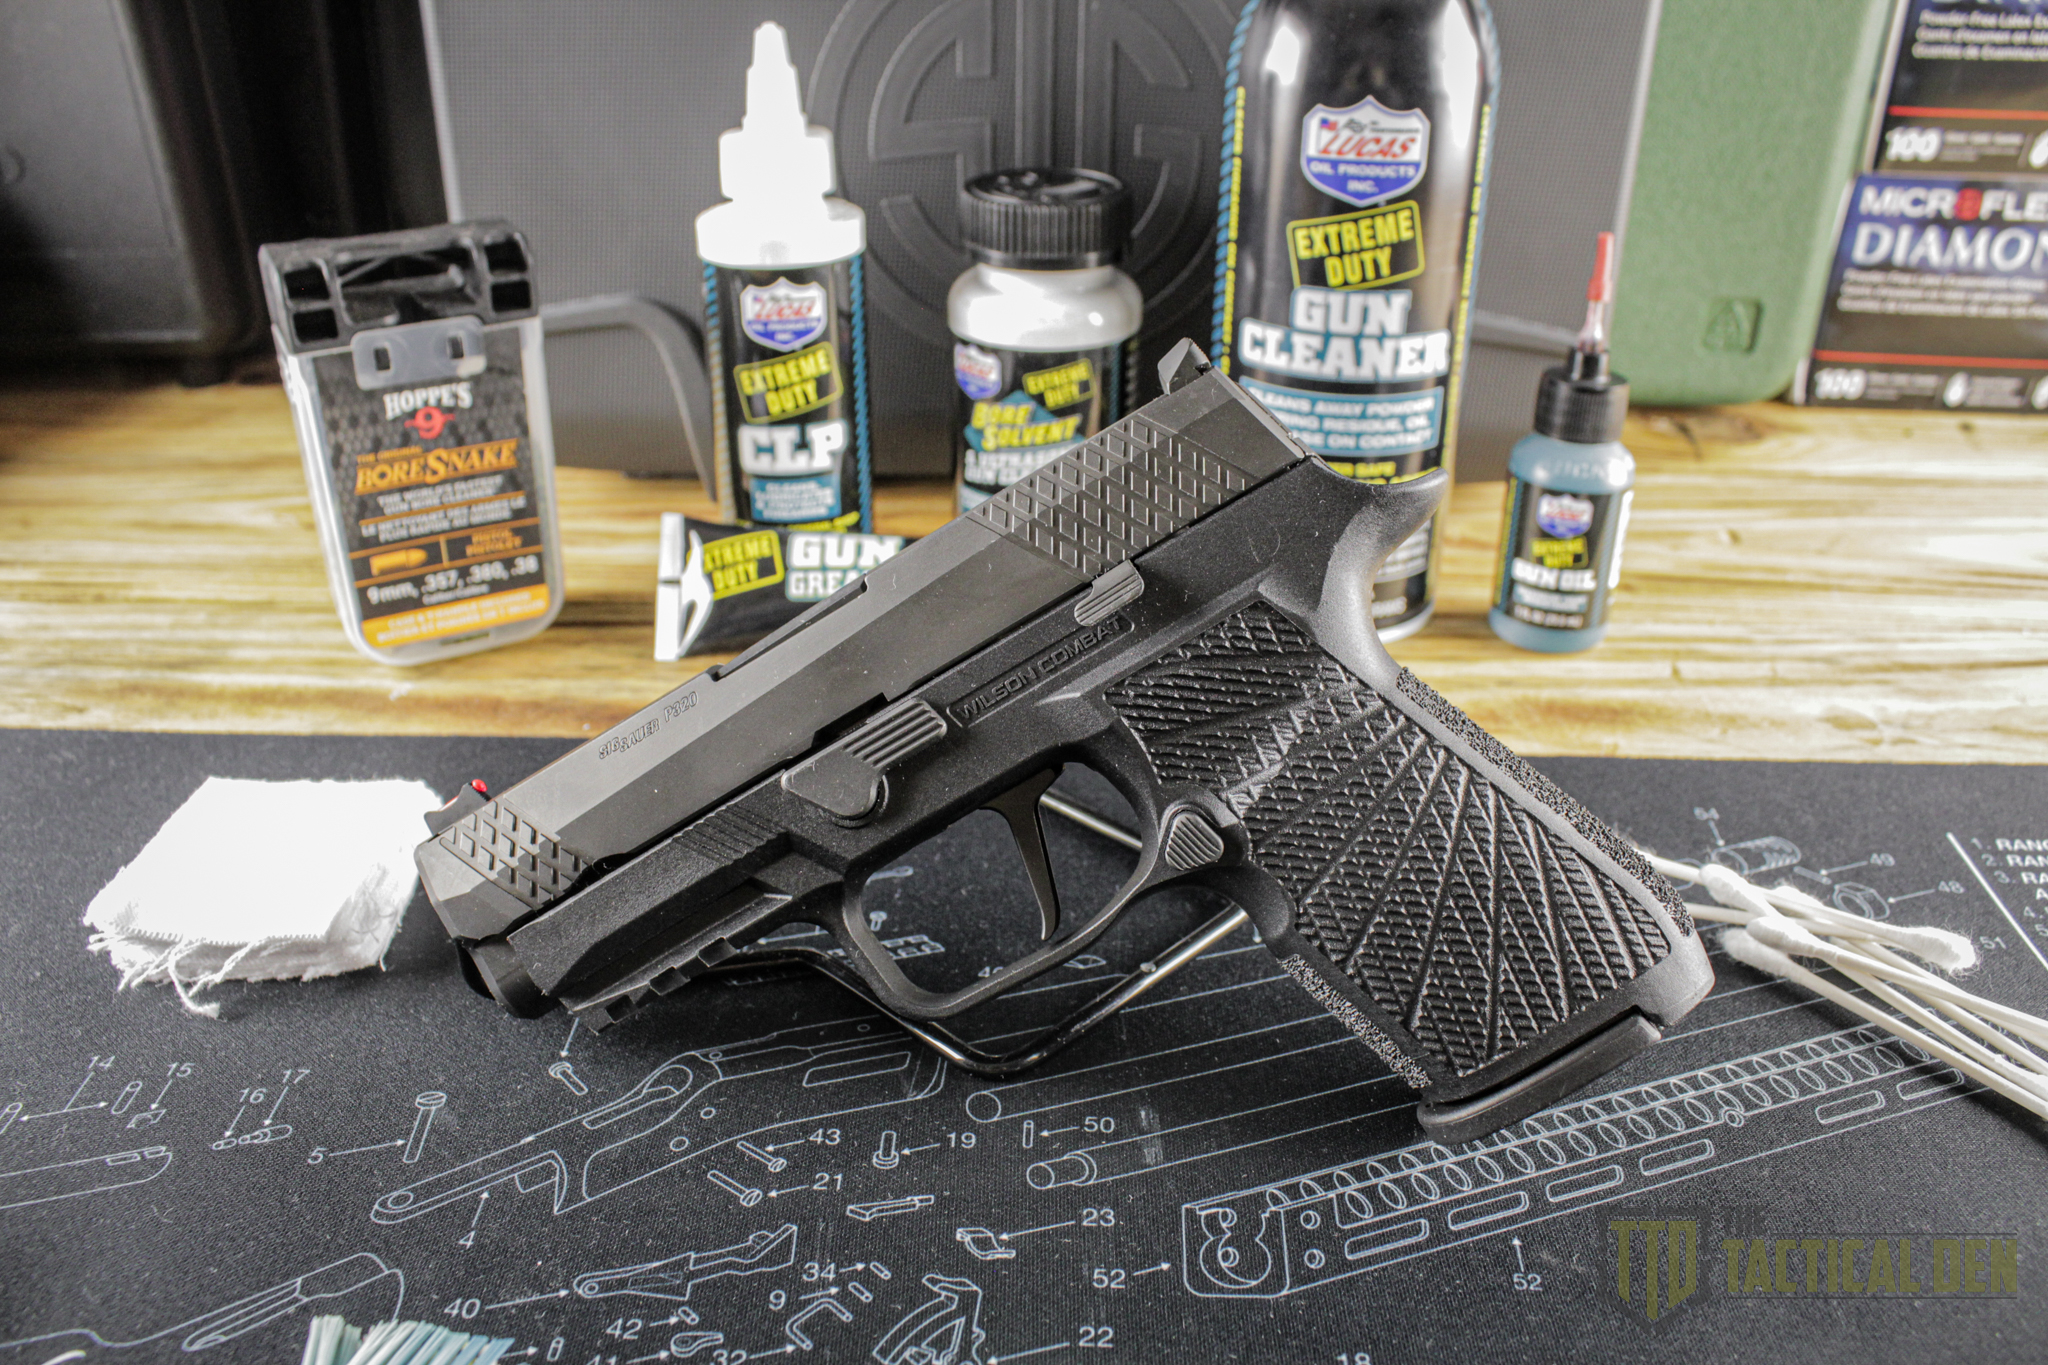
In this step by step guide, we will be walking you through the maintenance process of the Sig Sauer P320. Esteemed for its reliability and precision, the P320 is a popular choice among firearm enthusiasts. We will be showing the process with our Wilson Combat WCP320 Compact.
For our Full Review of the Wilson Combat WCP320 Compact Click Here!
The importance of regular maintenance extends beyond performance. It is a crucial aspect of responsible firearm ownership. A well-maintained P320 not only performs better but is also safer to operate. We’ll cover each aspect of the maintenance process, ensuring that your firearm remains reliable and efficient for any use, be it personal defense, professional duty, or recreational shooting.
Supplies Needed
To clean and maintain your Sig P320, it’s essential to have the right supplies on hand. Here’s a list of the items you’ll need:
- Cleaning patches
- Microfiber towel
- Hoppes Boresnake (correct caliber)
- Q-Tips
- Lucas Bore solvent
- Lucas CLP (Cleaning, Lubricant, Protective)
- Lucas Gun Oil
- Cleaning brush (or old tooth brush)
- Gloves
- Cleaning Mat

A clear work space and the right supplies makes the cleaning process smoother and more effective.

Field Stripping the Sig Sauer P320
Field stripping your Sig Sauer P320 is the first step in the maintenance process. Follow these steps with safety always in mind. Always have the muzzle pointing in a safe direction and ensuring the firearm is unloaded before starting.
Unload the Pistol
- Remove the magazine from the pistol and rack the slide removing any round chambered.

Retract and Lock the Slide
- Pull back the slide and use the slide release lever to lock it in the open position.

Inspect the Chamber
- Visually check the chamber to ensure it is clear and empty.

Rotate the Takedown Lever
- Turn the takedown lever clockwise until it stops. This lever will allow the removal of the slide from the frame.

Release the Slide
- Slightly pull back the slide to disengage the slide release lever, then let the slide move forward slowly.
- Note: The slide is under spring tension. Maintain control to prevent damage or injury. Always wear eye protection.

Remove the Slide Assembly
- Gently move the complete slide assembly (including the slide, barrel, recoil spring and guide) off the frame.

Remove the Recoil Spring and Guide
- Push the recoil spring guide slightly forward and lift from the rear to remove it from the slide.

Removing the Barrel
- Grabbing the barrel by its lug lift it and pull it towards the rear to remove it from the slide.

Magazine Disassembly
Remove the Magazine Floorplate
- Locate the magazine floorplate tab. Using a tool, press the tab inward and forward release the floorplate.
- Warning: The magazine spring is compressed. Control the release of tension with your thumb. Wear eye protection.


Remove Follower and Spring
- Remove the magazine follower and spring by sliding it out of the magazine tube.

At this point you’ve successfully field stripped your Sig P320 and are ready to move to the clean and lubricate section

Cleaning and Lubricating the Sig Sauer P320
Proper cleaning and lubrication of your Sig Sauer P320 are crucial for optimal performance and longevity.
Slide Assembly
First, remove all old lubricant from the slide assembly. Then, using a cloth and a soft brush with CLP, clean the slide, focusing on the extractor, rail slots, and breech face to ensure they are free of dirt and residue.


After cleaning, apply a light coat of gun oil to the frame rail slots of the slide. Lightly oil all external parts of the slide, but remember not to lubricate the striker assembly, as this could lead to malfunctions.
Barrel
Begin by soaking the bore of the barrel with bore solvent. Next using a bore snake insert from the chamber end, exiting past the muzzle. Wipe the exterior of the barrel with a cloth soaked in CLP. Finally, run dry patches through the bore until they come out clean.


Lightly oil the exterior of the barrel with gun oil. I personally like to add a light coat of gun grease to the top of the chamber end of there barrel where the slide would ride on. If you plan to store the pistol, lightly oil the bore and chamber, but remember to remove any lubricant from the bore before firing the pistol.
Recoil Spring and Guide Assembly
The recoil spring and guide assembly of the P320 should not be disassembled and is serviced as a single unit. Clean it with CLP and a soft brush, then apply a light coat of CLP after cleaning.

Frame/Grip Module
Apply CLP to the frame/grip module focusing on key areas internally where high build can be found. Wipe down the frame/grip module assembly with a soft cloth. Use cotton swabs for cleaning hard-to-reach areas, paying special attention to the frame rails, takedown lever, and slide catch lever. Apply a light coat of CLP to lubricate the frame rails and accessible functioning parts. Also don’t forget to make sure the magazine well is clean of any dirt, dust, or residue.

Magazine
For the magazine, wipe down the tube and follower with a cloth. Use a soft brush and CLP for a deeper clean if needed. The magazine spring, floorplate, and base plate should also be cleaned with a cloth. After cleaning, apply a light coat of CLP/LSA to the spring and magazine tube.

Now that we have a clean and lubricated Sig P320 we are ready to move o
Reassembling the Sig Sauer P320
The reassembly process of your Sig Sauer P320 is a pretty straightforward and easy process.
Verify Pistol is Clean
- Before starting the reassembly, confirm that the pistol is clean and clear of all foreign matter. AND NOT OVER LUBRICATED!
Insert the Barrel
- Place the barrel back into the slide, muzzle end first and letting it drop into place.

Install Recoil Spring and Guide
- For Full Size models: Insert the recoil spring guide assembly into the slide.
- For Compact/Sub-Compact models: Insert the recoil spring assembly into the slide and rotate the spring guide so the flats are vertical.
- Warning: The recoil spring and guide are under tension. Exercise caution to prevent injury or damage to the pistol. Wear eye protection.

Position the Takedown Lever
- Rotate the takedown lever clockwise fully to its stop position.
Mate the Slide to the Frame
- Guide the slide onto the frame rails, starting from the front.

Lock the Slide
- Pull the slide to its rearmost position and engage the slide catch lever to lock it.

Rotate the Takedown Lever
- Turn the takedown lever counter-clockwise until it is horizontal.

Release the Slide
- Press the slide catch lever to allow the slide to move forward.

Magazine Assembly
Insert Follower and Spring
- Place the magazine follower on the magazine spring and insert them into the magazine tube.
- Warning: The magazine spring is compressed during assembly. Control the release of tension with your thumb and wear eye protection.

Fully Insert the Spring
- Push the spring into the magazine tube until the insert is flush with the bottom.

Secure the Floorplate
- While holding the magazine insert, slide the magazine floorplate onto the tube lips until it locks in place.

Remember, reassembly of your firearm should be done with care. Always double-check each component to ensure proper installation and functionality. Which we will guide you through in the functions check section.
For our Full Review of the Wilson Combat WCP320 Compact Click Here!

Functions Check
Performing a function check on your Sig Sauer P320, is an essential step to ensure the firearm operates correctly. This check should be done after each cleaning, assembly, and any repairs.
Ensure Unloaded and Cleared
- Confirm that the magazine is removed and the pistol is unloaded and cleared by visually inspecting the chamber.
2. Check Recoil Spring Function and Slide Travel
- Retract the slide fully and release it.
- Verify the slide locks fully in the closed position.
- Repeat this procedure to ensure consistent operation.
3. Check Trigger Mechanism
- Press the trigger fully to the rear.
- Listen for an audible click indicating the striker has been released.
4. Check Slide Catch Lever
- Insert an empty magazine into the pistol.
- Fully retract the slide and release it.
- Ensure the slide is locked to the rear by the slide catch lever.
- Depress the slide catch lever and verify the slide releases and locks in the closed position.
- Remove the magazine.
5. Inspect the Magazine
- Examine the condition of the magazine tube.
- Confirm the magazine floorplate is secure.
- Check for free movement of the magazine follower and spring.
- Insert and remove the magazine from the pistol, checking for smooth insertion and release, and proper engagement and release of the magazine catch.
6. Inspect the Pistol Exterior
- Assess the general condition of the pistol.
- Inspect sights, body, slide, and takedown lever for any signs of damage.
- Ensure the front and rear sights are secure.
Warning: Never use a firearm or magazine that shows signs of damage or fails any part of the function check. Always verify the magazine is the correct model and caliber for the pistol.
Performing these checks is crucial for your safety and the reliability of your firearm. Always prioritize thorough inspection and function verification after reassembling your pistol.

For our Full Review of the Wilson Combat WCP320 Compact Click Here!
Conclusion and FAQs on Pistol Maintenance and Storage
As we conclude our guide on maintaining the Sig Sauer P320 using our Wilson Combat WCP320 Compact, it’s important to emphasize the significance of regular maintenance and proper storage for the longevity and reliability of your firearm. Here are some frequently asked questions (FAQs) that might help clarify common concerns:
1. How often should I clean my Sig Sauer P320?
- Clean your P320 after every shooting session to remove residues and deposits. For less frequently used firearms, a thorough cleaning every 3-6 months is recommended.
2. What is the best way to store my P320?
- Store your P320 in a dry, cool place away from direct sunlight and moisture. Use a gun safe or lockbox for added security and to prevent unauthorized access.
3. Can I use any lubricant for my P320?
- It’s best to use lubricants specifically designed for firearms, like CLP or LSA. Avoid using excessive amounts, especially in the striker channel.
4. What should I do if I notice rust or damage on my P320?
- If you notice any rust or damage, clean the affected area and apply a light coat of oil. For significant damage or concerns, consult a professional gunsmith or contact SIG SAUER for evaluation.
5. Is it necessary to disassemble the magazine for cleaning?
- Yes, disassembling and cleaning the magazine regularly helps maintain its function and prevent feeding issues.
6. How can I ensure my P320 is safe after reassembly?
- Conduct a function check after reassembly to ensure all parts are working correctly. Always verify the firearm is unloaded before performing any checks.
7. What safety precautions should I take during maintenance?
- Always ensure the firearm is unloaded before starting any maintenance. Use eye protection, especially when handling springs under tension, and work in a well-ventilated area when using solvents.
Maintaining your Sig Sauer P320 is a responsibility that comes with owning this firearm. Regular cleaning, proper lubrication, and secure storage not only extend the life of your pistol but also ensure it remains a reliable and safe tool for your needs.
For our Full Review of the Wilson Combat WCP320 Compact Click Here!


Leave a Reply